Power BI Embedded is an Azure service that allows organizations to integrate Power BI into other applications. It allows you to create reports and dashboards through their applications, portals, or websites. You can access the report through a user interface with security protection through the use of row-level security.
In this post, we will learn how to use Row Level Security with Power BI Embedded.
What's Row Level Security (RLS)?
RLS controls access to data and allows only authorized users to access data.
RLS Types
There are two types of row-level security:
- Static and
- Dynamic.
What's Static Security in RLS?
Static Security uses a fixed value in a filter like this
[Region] = "East"
You can use static security if you want each department to access different data.
What's Dynamic Security in RLS?
Dynamic Security uses the Dax function username or userprincipalname to define the role.
When applying dynamic security in a report the RLS model will filter data automatically based on the roles of the specific user
How to use Row Level Security with Power BI Embedded?
To use RLS in your report using Power BI Embedded, you have to do the following:
Create your report in Power BI Desktop
Create your report in Power BI Desktop, ensuring clear table relationships and understanding how security will be applied.
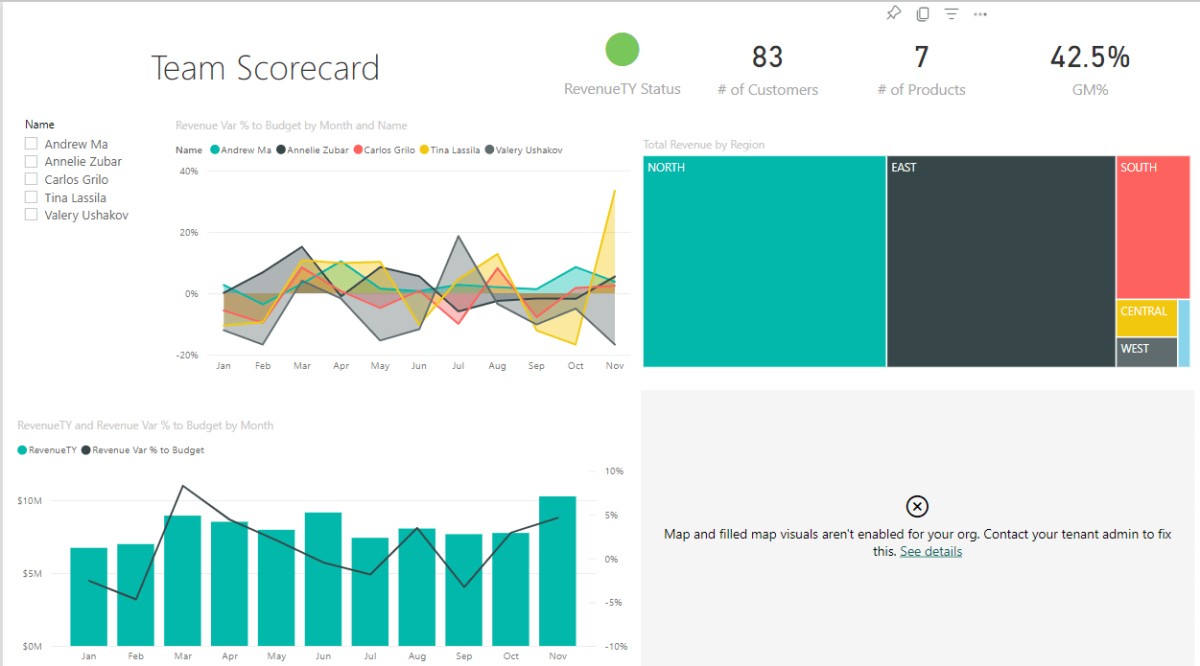
Determine the role that will access your data.
To enable Row level security on Power BI Desktop
- Click on Model view > from Tool bar click on Manage roles
- Click on New to add a role
- Type the name of the role
- Select tha table and Select the column that will used to filter the data
- Add the filter

Publish Report to Power BI Service and test RLS
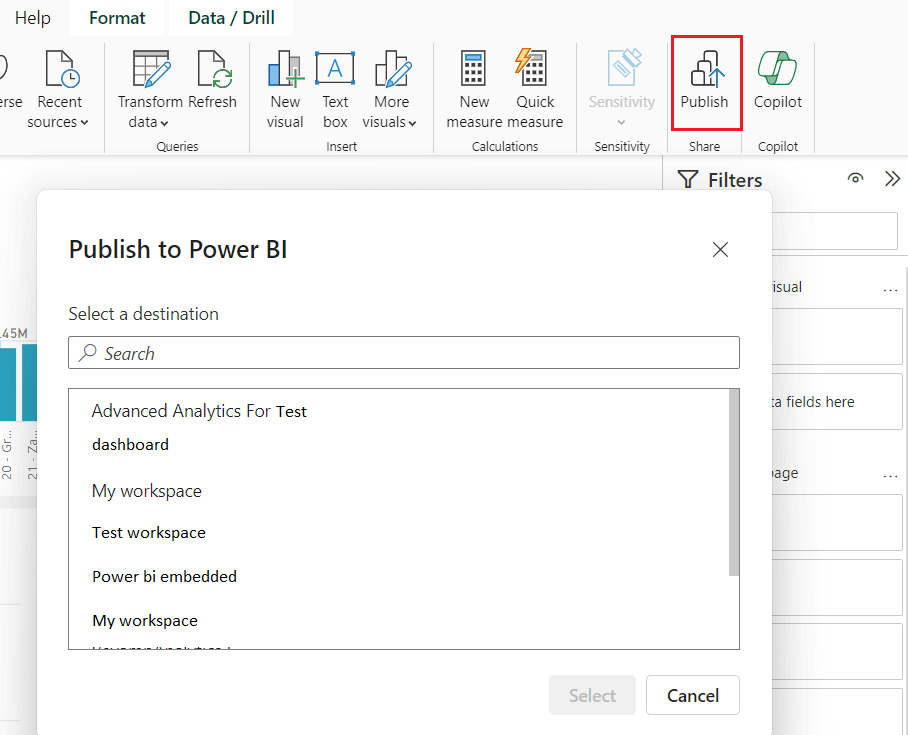
1- After designing your report, publish it to the Power BI Service click in Publish and select the workspace that you want to publish on it
2-Login to Power BI Service through this link https://app.powerbi.com/
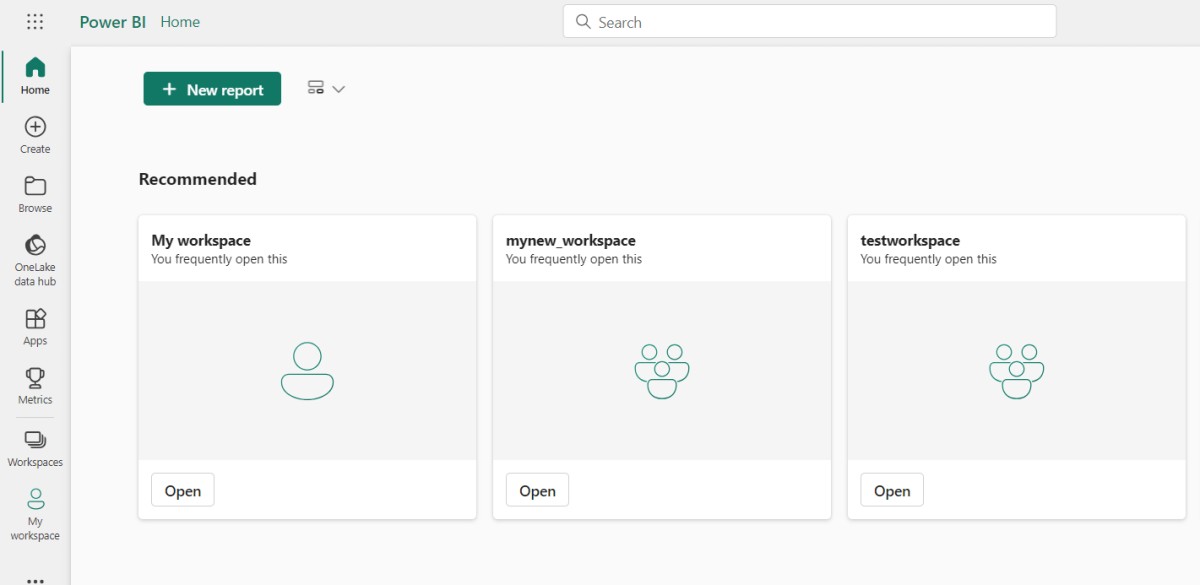
3- Select your workspace that you've stored your report on it .
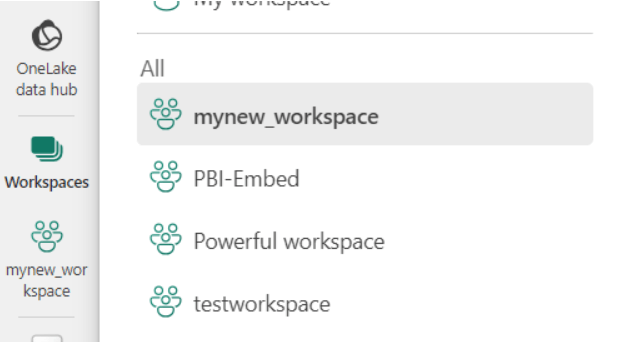
4-Test Row Level Security: click on three dot on dataset report

5-Select security
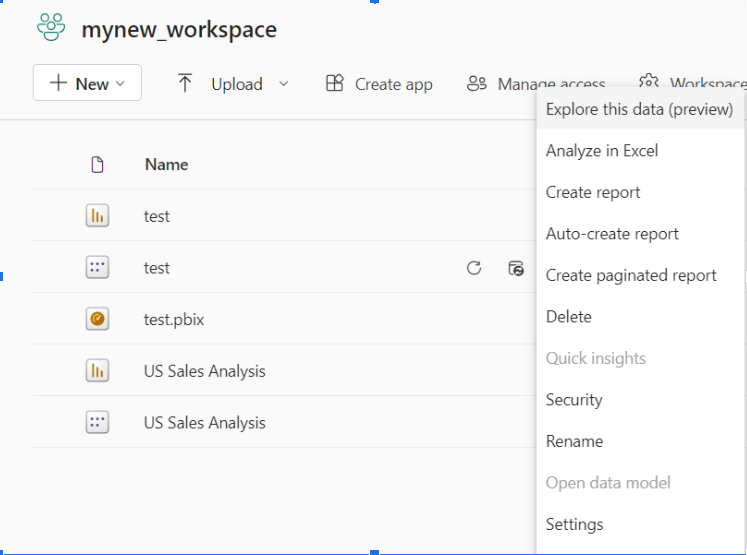
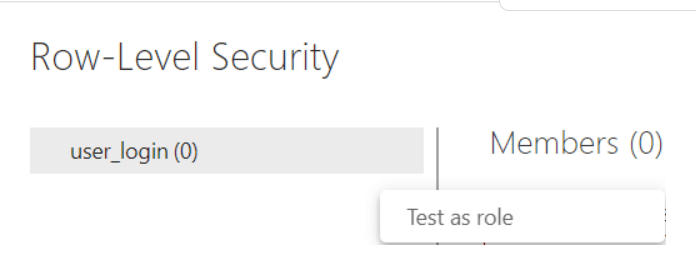
6-To test rules click on Test as role and you can see the data has been filtered based on login email This is just Regular dynamic Row level security
How to embed Power BI Report?
To embed power bi we will use Embed Token for each piece of content that want to embed in power bi we have to generate embed token.
- We use Embed Token for customer or external user not know anything about powerbi or not sign in power bi so you are going through Service principal.
- We will get the authentication token for that proxy account and then proxy account generate these embed token and RLS defined inside that.
Steps
1.You can register your Azure AD app by following the steps in the following Register Azure app
2.Download the sample application from github download sample
3.Update the ClientSecret and Client ID within secrets.cs

4.Update the tenantId,groupId,reportId,datasetId within Program.cs
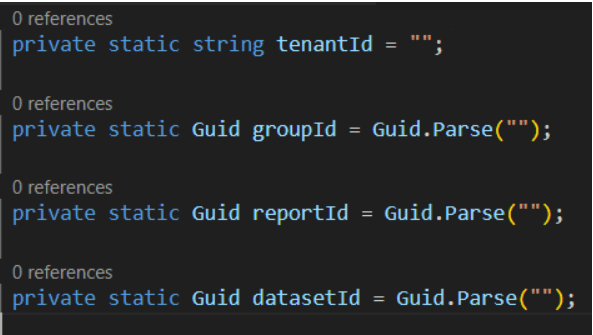
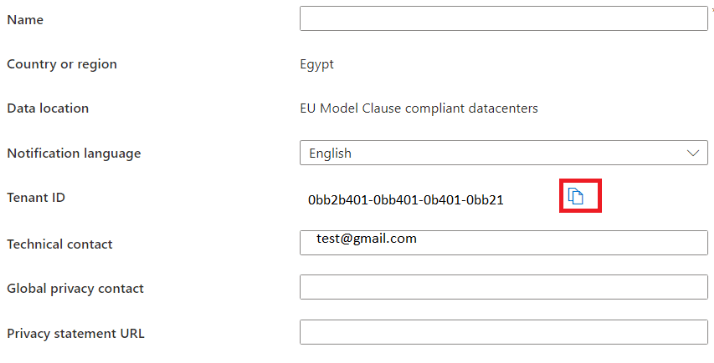
5.To get TenantID navigate to this link and find tenant properties azure portal
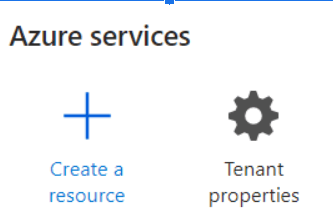
-Copy tenant id
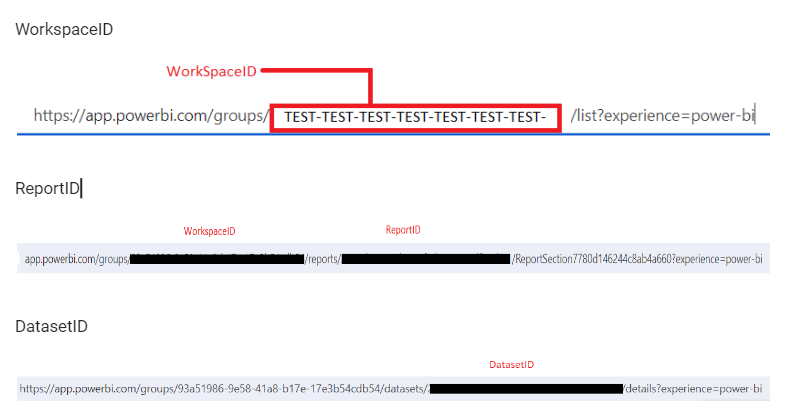
-To get workspaace navigate to this powerbi services and click on workspace you can copy workspaceID from the link
6.Open program.cs in sample appliction and add the name of role that you created and the value you want to filter and replace your values with values in this code
var rls = new EffectiveIdentity(username: "add value you want to use to filter", new List<string> { datasetId.ToString() });

var rolesList = new List<string>();

rolesList.Add("Add the name of role");

rls.Roles = rolesList;

embedToken = client.Reports.GenerateTokenInGroup(groupId, reportId,

    new GenerateTokenRequest(accessLevel: "View", datasetId: datasetId.ToString(), rls));
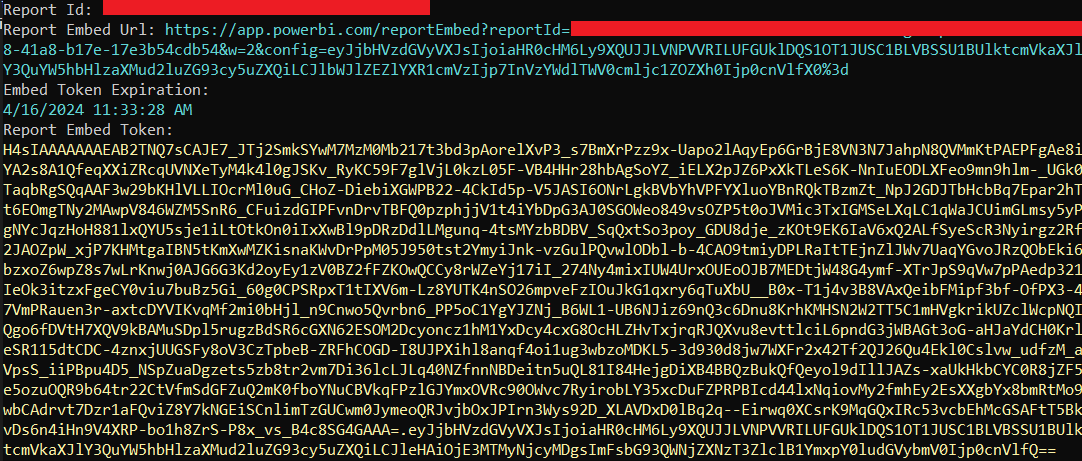
7. Run the application you will get
- Report Id
- Report Embed Url
- Report Embed Token
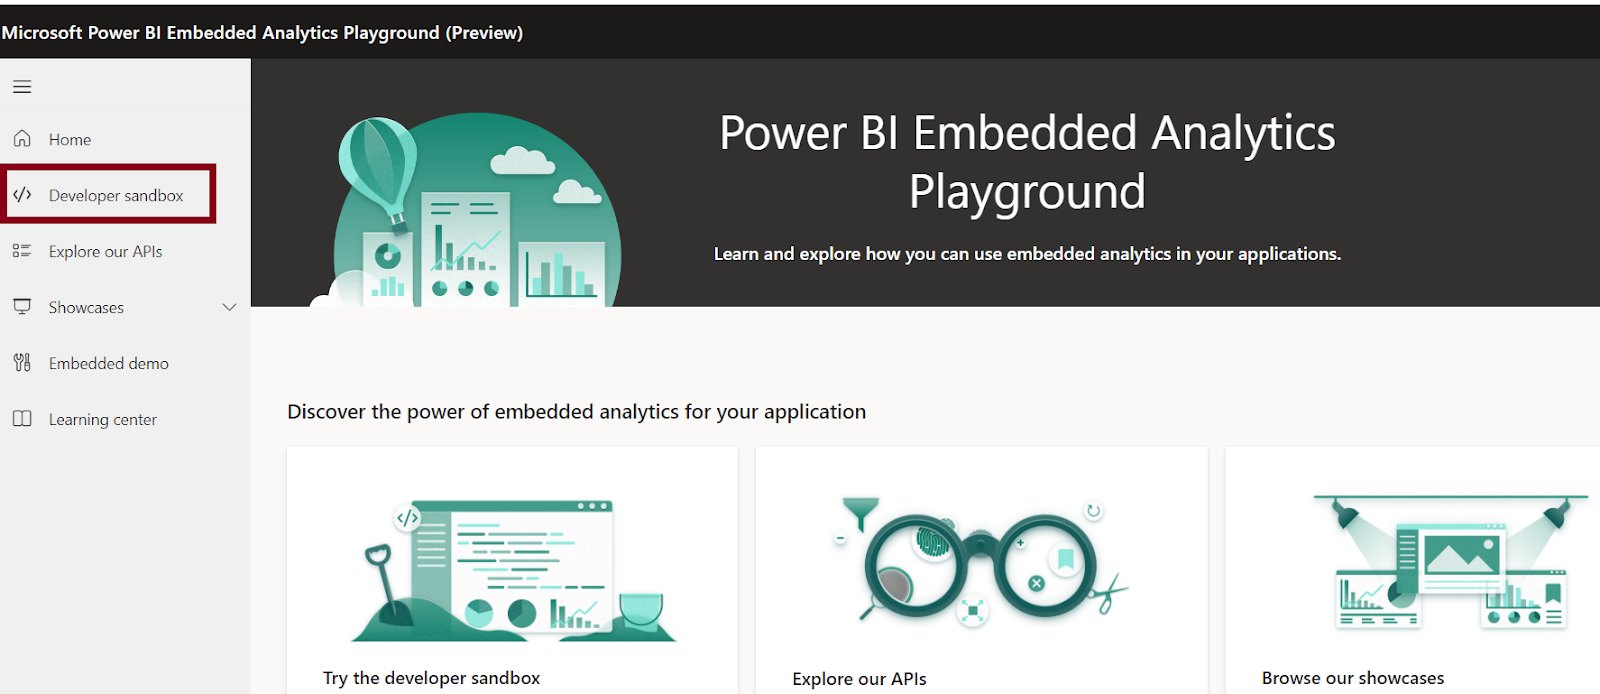
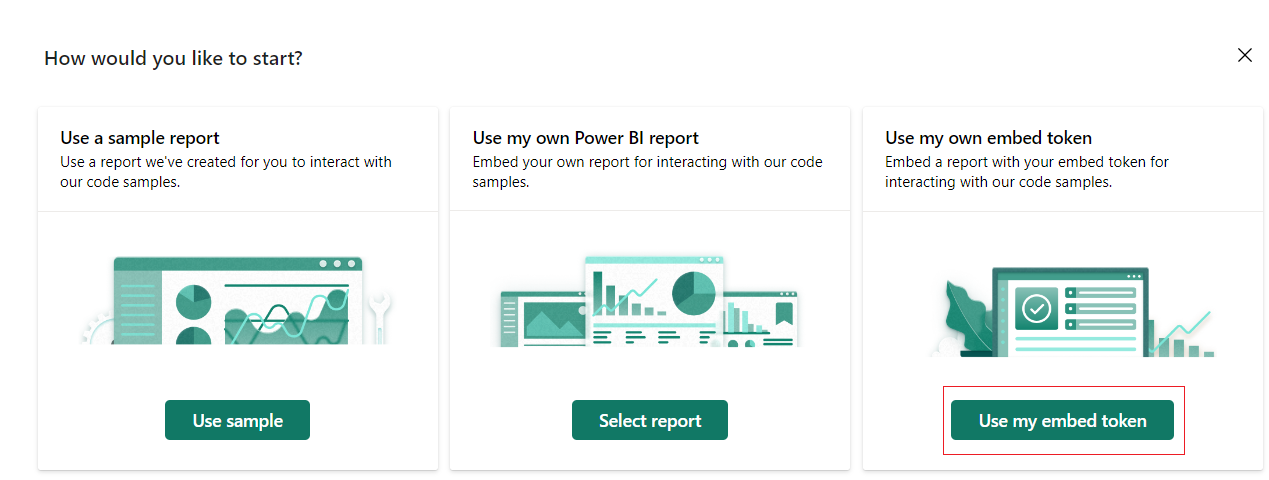
8.Navigate to Power Bi Embedded Analytics Playground To test and click on Developer Sandbox https://playground.powerbi.com/en-us/
9. Click on Use my Embed Token
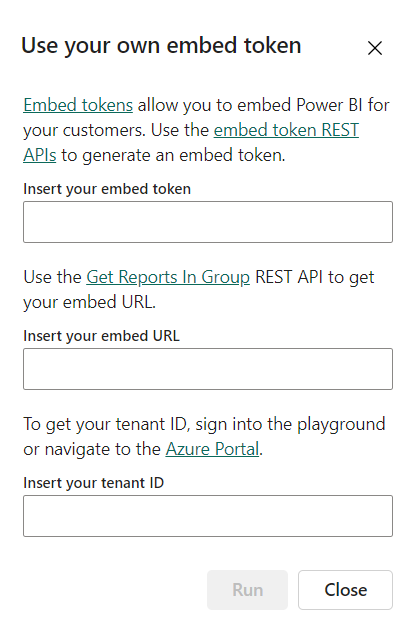
10. Add Embed Token, Embed Url,TenantID
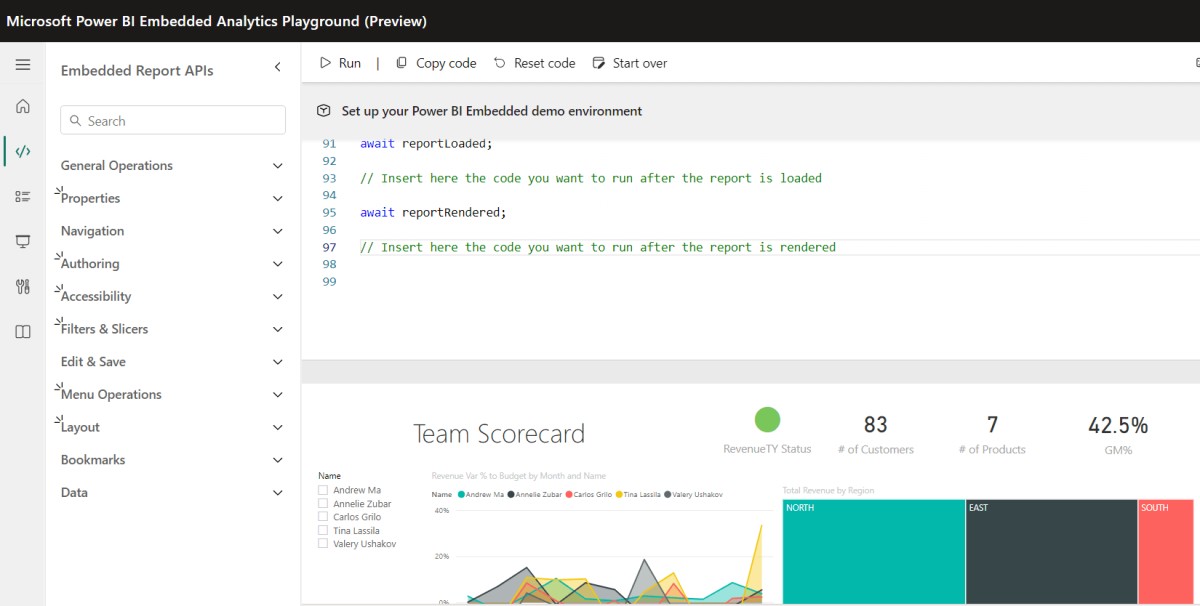
11. After click on Run you will get embedded report
12. The Last step is to run report locally , You can create Blank Mvc project using Visual studio and update this file Index.cshtml inside folder Views/Home with this code
@{
    ViewData["Title"] = "Home Page";
}

<div class="text-center">
    <h1 class="display-4">Power Bi embedded</h1>

</div>

<div id="embedContainer" style="width: 100%; height: 600px;"></div>

@section Scripts {
    <script src="https://code.jquery.com/jquery-3.6.0.min.js"></script>
    <script src="https://microsoft.github.io/PowerBI-JavaScript/demo/node_modules/powerbi-client/dist/powerbi.min.js"></script>
    <script>
        $(document).ready(function () {
            let loadedResolve, reportLoaded = new Promise((res, rej) => { loadedResolve = res; });
            let renderedResolve, reportRendered = new Promise((res, rej) => { renderedResolve = res; });

            models = window['powerbi-client'].models;

            function embedPowerBIReport() {
                let accessToken = "";
                let embedUrl = "";
                let embedReportId = "";
                let tokenType = "1"; // or "1" based on your token type selection

                let permissions = models.Permissions.All;

                let config = {
                    type: 'report',
                    tokenType: tokenType == '0' ? models.TokenType.Aad : models.TokenType.Embed,
                    accessToken: accessToken,
                    embedUrl: embedUrl,
                    id: embedReportId,
                    permissions: permissions,
                    settings: {
                        panes: {
                            filters: {
                                visible: true
                            },
                            pageNavigation: {
                                visible: true
                            }
                        },
                        bars: {
                            statusBar: {
                                visible: true
                            }
                        }
                    }
                };

                let embedContainer = $('#embedContainer')[0];
                let report = powerbi.embed(embedContainer, config);

                report.off("loaded");
                report.on("loaded", function () {
                    loadedResolve();
                    report.off("loaded");
                });

                report.off("error");
                report.on("error", function (event) {
                    console.log(event.detail);
                });

                report.off("rendered");
                report.on("rendered", function () {
                    renderedResolve();
                    report.off("rendered");
                });
            }

            embedPowerBIReport();
            reportLoaded.then(function () {
                // Code to execute after the report is loaded
            });

            reportRendered.then(function () {
                // Code to execute after the report is rendered
            });
        });
    </script>
}
P.S: Dont forget to change three parameters
 let accessToken = "";

 let embedUrl = "";

 let embedReportId = "";
See also