Today, we will explore another Visual Studio code extension Eslint that helps you to discover possible errors in Visual Studio Code.

What is Eslint?
Eslint is a visual studio code extension for identifying and reporting on patterns found in ECMAScript/JavaScript code, with the goal of making code more consistent and avoiding bugs.
Features:
- Find errors automatically.
- Eslint is concerned with code quality.
- Easy to maintenances code.
- Reduce time of manual review.
How to Install the Eslint extension for Visual Studio Code?
To install the Eslint extension for Visual Studio Code, you should follow the below steps:
Steps
- Go to the extension button, and search for Eslint, then click install.
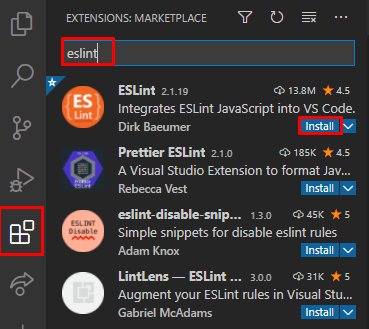
Also, you can install it from this link install ESLint
- After the installation is finished, you will notice that the extension has been enabled globally as below.

How to install Eslint using npm in the project folder?
npm install eslint --save-dev

npx eslint –init

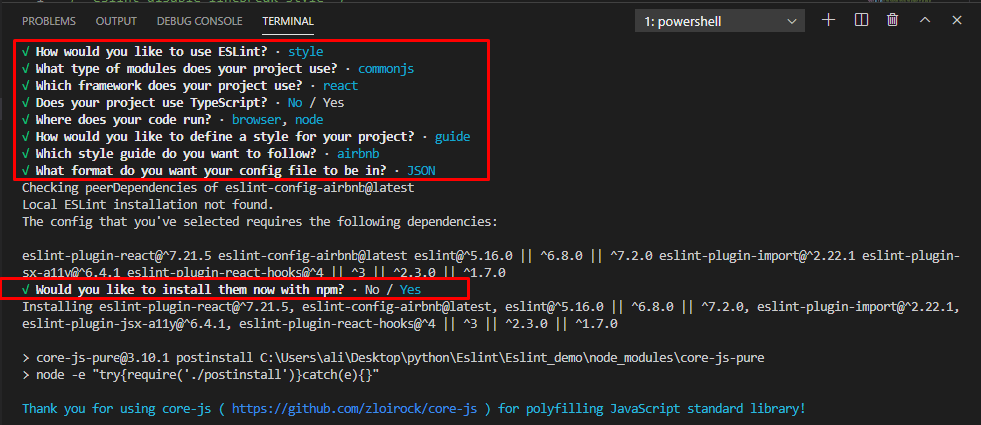
- Now the Eslint installs the package in the project folder as you can see in the below picture
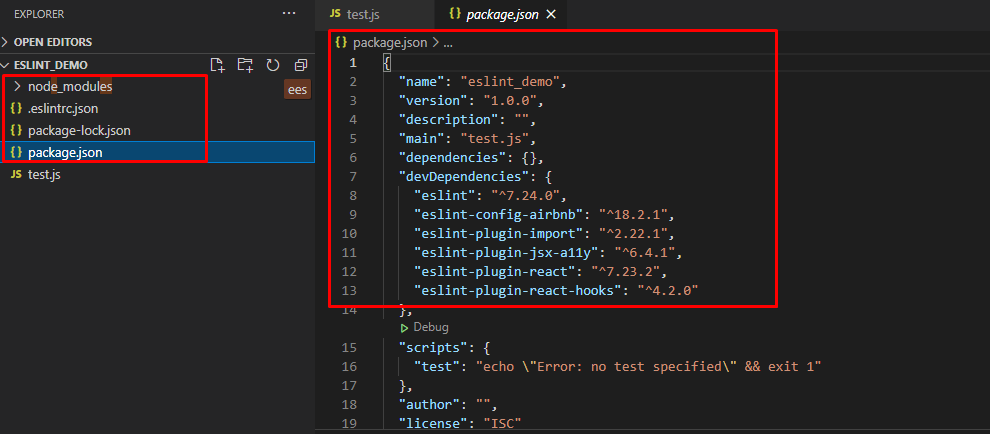
How to use the Eslint extension for Visual Studio Code?
To use the Eslint, you should first create a new project and it will automatically import the package used by the Eslint into our project.
Simple example
Below is an example of a code that has 6 errors.
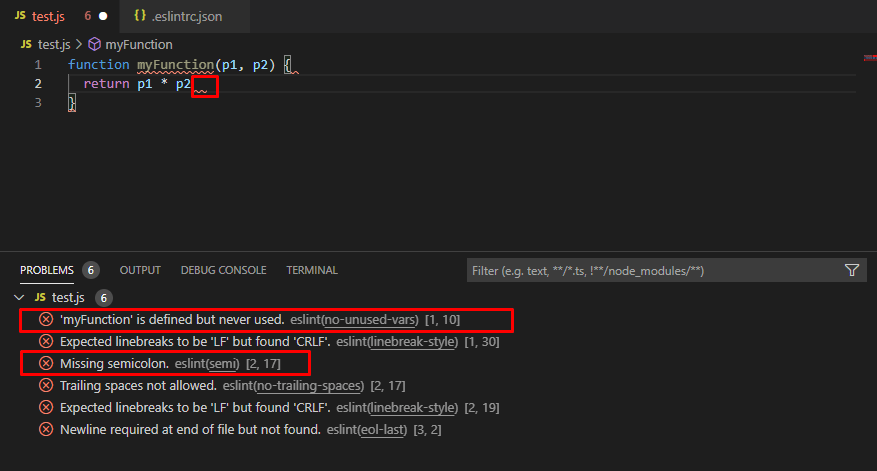
When you hover the error, you will get a message that tells you if you want to view a problem or quick fix.

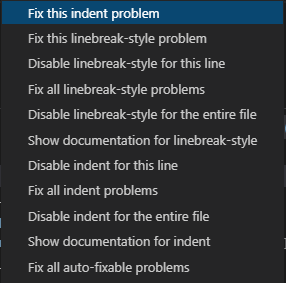
If you click Quick fix, you will see more choices where you can choose one of them as you prefer.
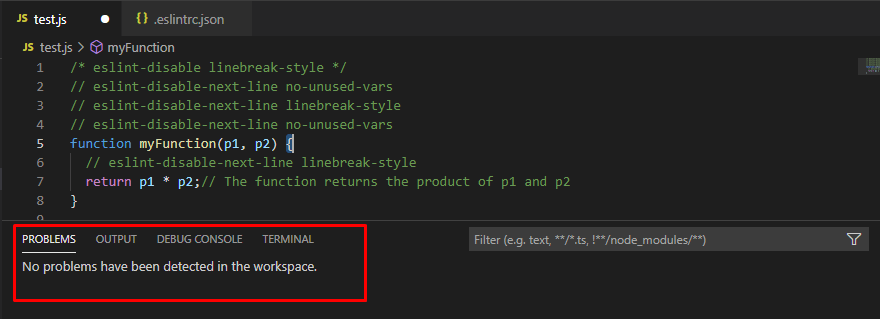
The below is the result after selecting "Fix all"
ESLint Quickstart - find errors automatically
See also